Using Tomcat as JAVA REST server
Create Project in Eclipse
- I used Eclipse Kepler pre-packed JEE development environment and setup tomcat as target runtime (e.g. "Apache Tomcat 7.0") as described here.
- In Eclipse workspace goto "New->Project->Dynamic Web Project" add a project name (e.g. "heating") and select the target runtime "Apache Tomcat 7.0"

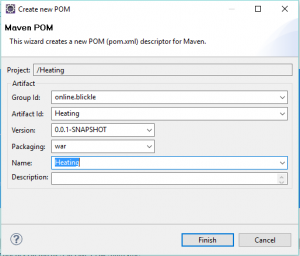
- I used maven for dependency resolution, so I configured the project to be a Maven project by selecting "Configure->Convert to Maven Project" from the context menu of the "Heating" project.

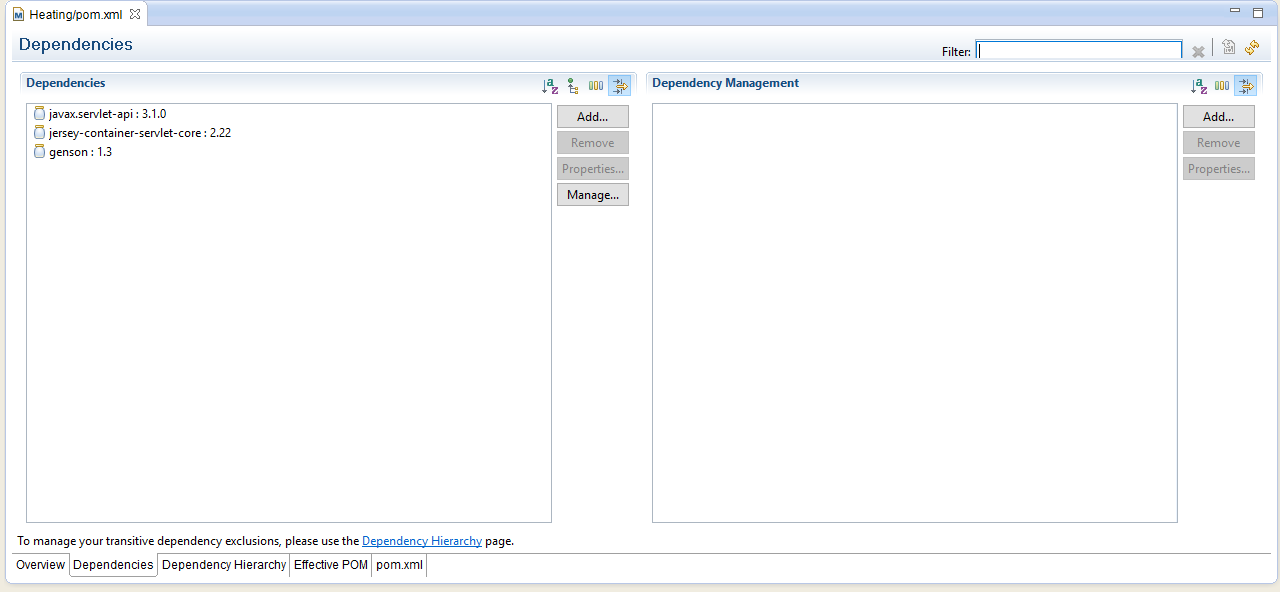
- As Tomcat is not an JEE container, I need to add some more dependencies to get a good REST support. Edit pom.xml and add the following dependencies. This can be done by either editing the pom.xml or using the GUI in Eclipse
<dependency>
   <groupId>javax.servlet</groupId>
   <artifactId>javax.servlet-api</artifactId>
   <version>3.1.0</version>
 </dependency>
 <dependency>
   <groupId>org.glassfish.jersey.containers</groupId>
   <artifactId>jersey-container-servlet-core</artifactId>
   <version>2.22</version>
 </dependency>
 <dependency>
   <groupId>com.owlike</groupId>
   <artifactId>genson</artifactId>
   <version>1.3</version>
 </dependency>
- Next, edit web.xml to configure the servlet. If you don't see a web.xml file, you can follow these instructions to create one. The parameter jersey.config.server.provider.packages must hold all packages where resource classes exist.
<servlet>
 <servlet-name>Jersey REST Service</servlet-name>
 <servlet-class>org.glassfish.jersey.servlet.ServletContainer</servlet-class>
 <init-param>
 <param-name>jersey.config.server.provider.packages</param-name>
 <param-value>online.blickle.helloworld</param-value>
 </init-param>
 <init-param>
 <param-name>com.sun.jersey.api.json.POJOMappingFeature</param-name>
 <param-value>true</param-value>
 </init-param>
 <load-on-startup>1</load-on-startup>
</servlet>
- Also in web.xml you can configure the URL pattern where your REST API can be acccessed:
<servlet-mapping>
 <servlet-name>Jersey REST Service</servlet-name>
 <url-pattern>/rest/*</url-pattern>
</servlet-mapping>
- The state of the "world" we be represented in a simple JAVA bean by the attribute "current_time" and "state". This bean just needs to be annotated by @XmlRootElement annotation in order to be serialized:
package online.blickle.helloworld; import java.util.Date; import javax.xml.bind.annotation.XmlRootElement; @XmlRootElement public class WorldState { private Date current_time; private String state; public WorldState(String state) { this.state = state; this.current_time = new Date(); } public Date getCurrent_time() { return current_time; } public String getState() { return state; } } - Next we implement the GET command for the resource. Thanks to annotation support this is pretty easily done with @Path, @GET and @Produces annotations:
package online.blickle.helloworld; import javax.ws.rs.GET; import javax.ws.rs.Path; import javax.ws.rs.Produces; import javax.ws.rs.core.MediaType; @Path("/world") public class WorldResource { @GET @Produces({MediaType.APPLICATION_JSON}) public WorldState get() { return new WorldState("fine"); } } - That's all. Start the server by the "run on server" command from Eclipse and select tomcat as runtime. You can test the API by typing "localhost:8080/Heating/rest/world" in your browser

Schreibe einen Kommentar
Du musst angemeldet sein, um einen Kommentar abzugeben.